Learning how to screenshot on a Chromebook should be one of the first things you do after purchasing one of these versatile little computers. Whether you’ve just purchased one of the best Chromebooks and are new to the system, or you haven’t used one in a while and have forgotten, learning how to screenshot on Chromebook is a breeze.
In fact, once you’ve mastered it, you’ll find yourself using the screenshot feature all the time, as Chrome OS includes a variety of capture options for various scenarios via its bespoke screenshot widget. Overall, it’s a piece of cake, and we’re here to show you how. Let’s get started: here’s how to screenshot on a Chromebook.
How To Take A Screenshot On Chromebook
To Take A Full Screenshot
It is very simple to take a basic screenshot on a Chromebook. This is the method to use if you want to capture whatever is currently displayed on your screen.
- Locate the content you want to capture a screenshot of. This can be pretty much anything on a Chromebook: web pages, apps, your desktop… whatever you want to capture.
- While holding down the Ctrl key, press the Show Windows key. This is how it appears:

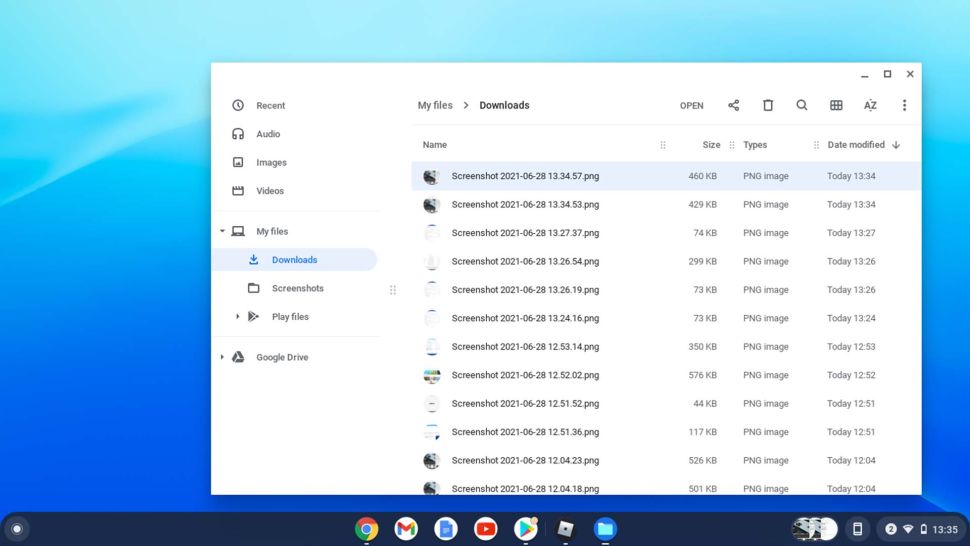
- Locate your screenshot. Chrome OS will have saved it to the Downloads folder within My Files by default. You can find it by opening the Files app (if you don’t know where it is, search for it in the launcher).

- Your screenshot will be copied to your clipboard as well, which is useful if you want to paste it directly into a Google Docs or Slides document.
- Finally, on some Chromebooks, when you take it, a window will appear in the bottom right corner of the screen. You can go directly to the Files app by clicking on this.
To Take A Partial Screenshot
It is just as simple to take a partial screenshot that only captures a specific area of the Chromebook display as it is to take a full screenshot.
- Locate the content you want to screenshot.
- Hold down the Ctrl and Shift keys before pressing the Show Windows button.

- You will be prompted to ‘Drag to select an area to capture.’ Your cursor will now be a crosshair, and the screen will have dimmed.
- Drag the mouse/trackpad to select the area to be captured. The captured area will be highlighted.
- In the screenshot’s center, press the ‘Capture’ button. Your screenshot will be saved in the same location as before: My Files/Downloads.
Also read:- PLDT Home WiFi Settings – pldthomewifisettings.net Log-In
Conclusion
Being able to take a screenshot is a basic skill when it comes to using computer systems, but a surprising number of people do not know how to do it. This guide is aimed specifically at Chromebook users and provides easy methods to capture both full and partial. We hope you went through it and found it helpful.
Please let us know if you have any queries in the comments dow below.